How it works
One service call, start to finish.
A broken spring on Maple Street. Ten steps from the phone ringing to the door’s own record being updated — every one of them a screen in the real product, grouped into the four parts of the job.
- Phase 1
Before the truck moves
Steps 1–2
- Phase 2
At the door
Steps 3–5
- Phase 3
The conversation
Steps 6–7
- Phase 4
Done and paid
Steps 8–10
Phase 1 · Before the truck moves
The call comes in, and the job already knows which door it is about.
Customer calls
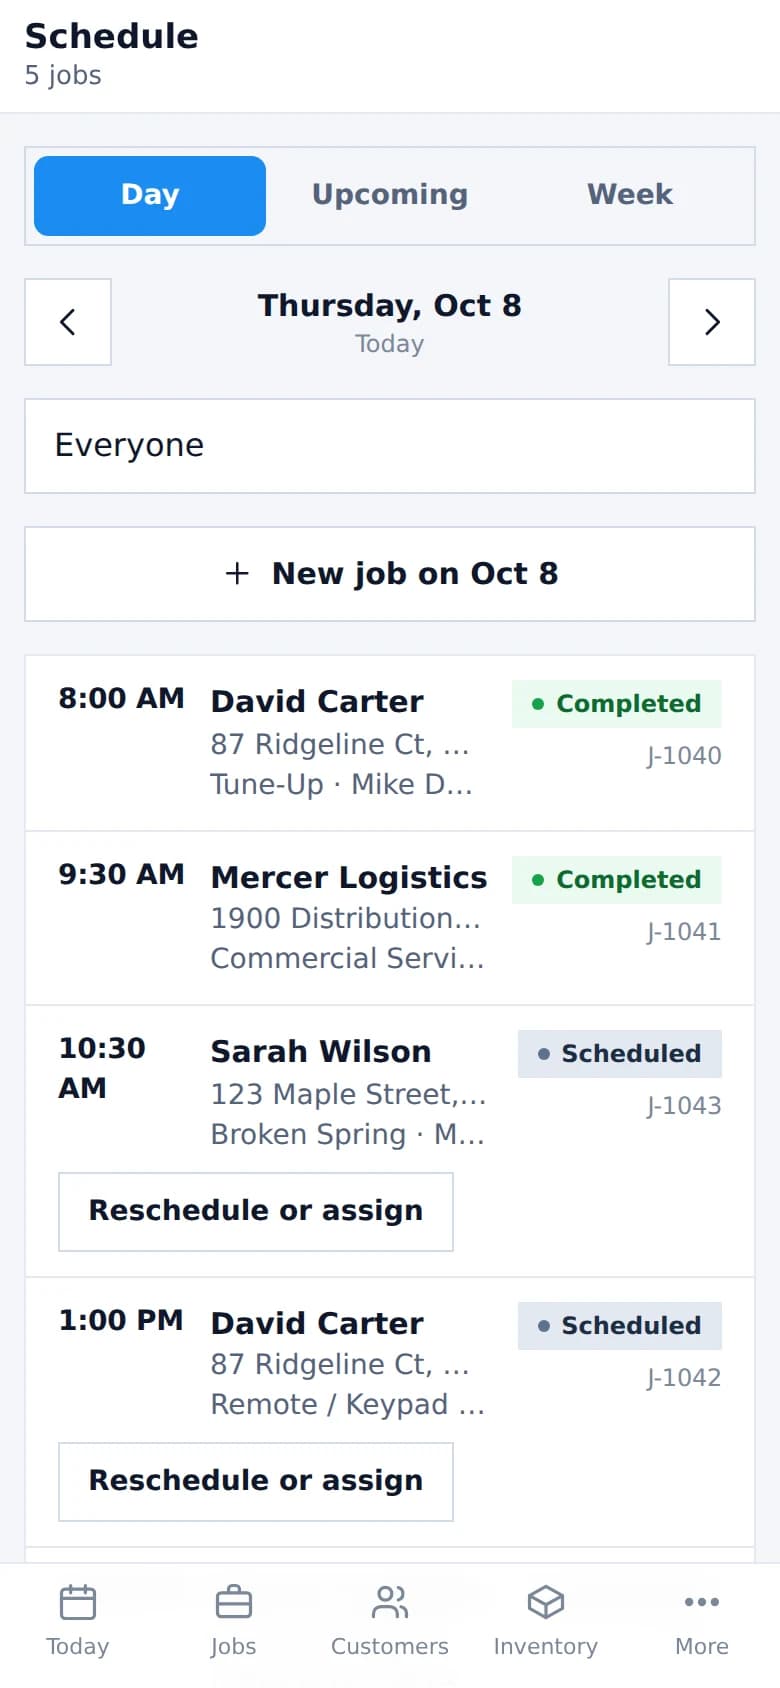
Find them if they have called before, create them if they have not. A customer has properties; a property has doors. If this is the same house as last February, the door is already there with everything on it.Schedule
Put the job on the calendar with the door it is for and what they said is wrong. A one-person company does not assign it to anyone; a larger one picks the technician.
Phase 2 · At the door
The technician arrives already knowing the equipment, and leaves with a priced repair.
Arrive
The job opens with the address, the phone number, the door, the opener, the springs on it and what was done last time. Nobody reads the history out over the phone.Inspect
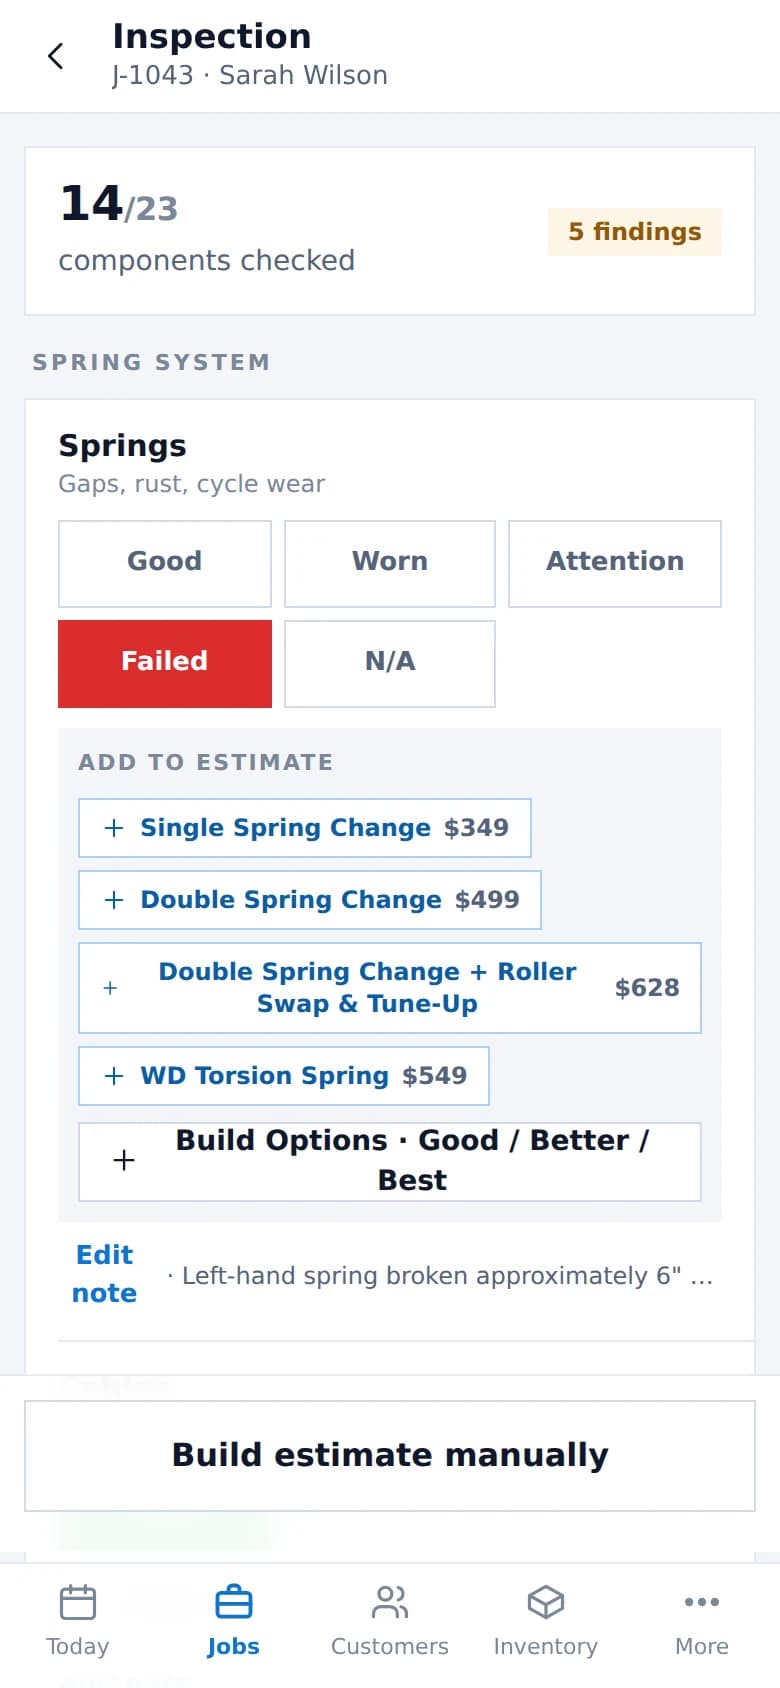
Work down the door: spring system, hardware, door, opener, safety. Each component takes the kind of answer it has — springs are Good through Failed, a balance test is Balanced or Needs Adjustment, lubrication is Complete or Needed, auto-reverse passes or fails.Build the repair
Findings that need work become estimate items. Tap Build Options and the failed spring is a line with a price from your own price book. Offer one option, or three — whatever this door needs.
Phase 3 · The conversation
The customer sees what was found, picks when there is a choice, and signs.
Present
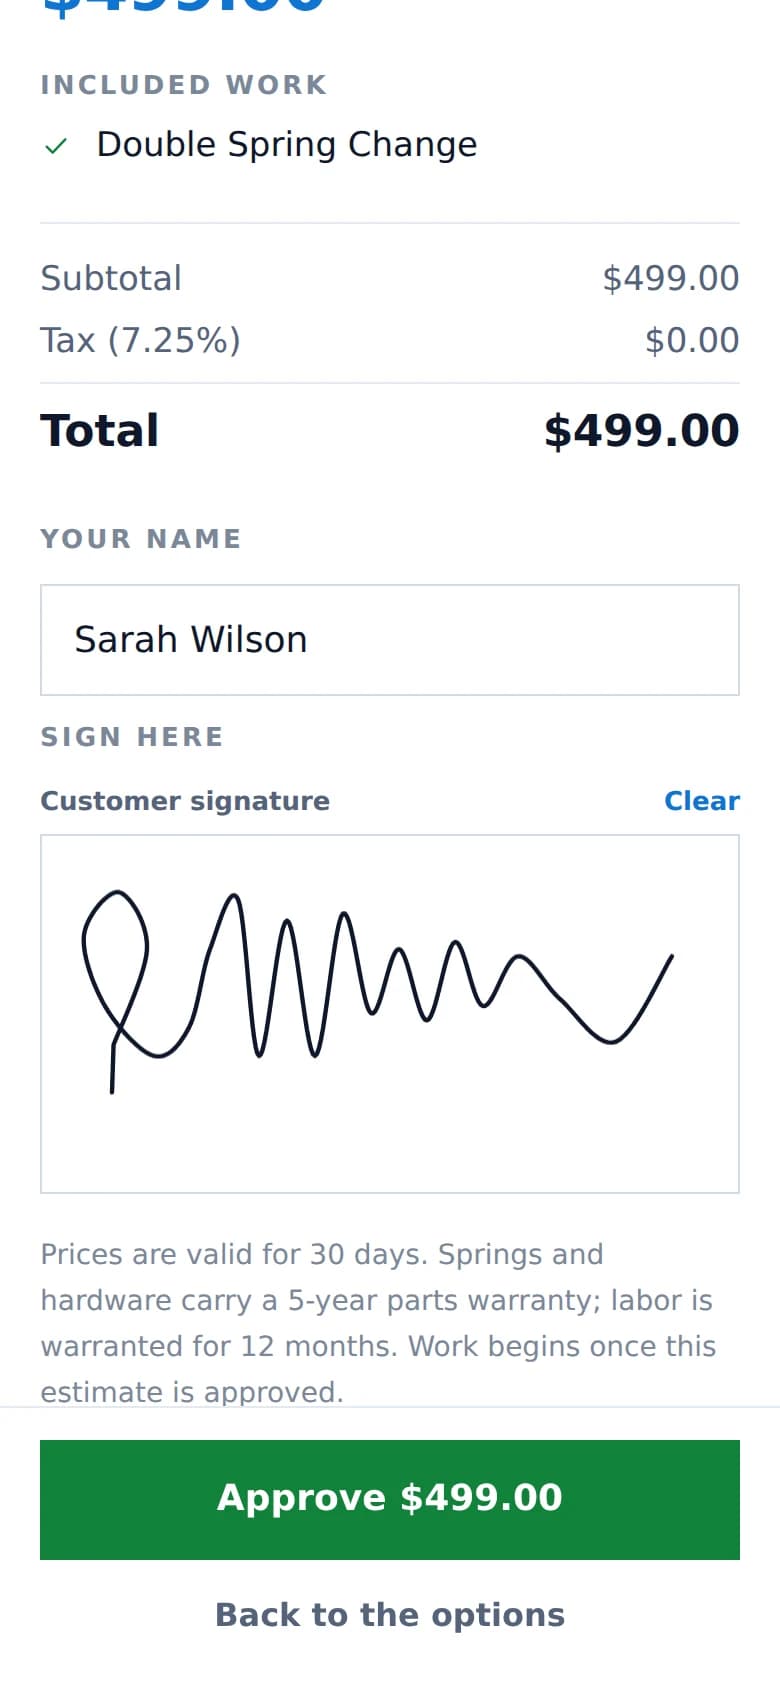
Tap Present to Customer and hand them the phone. The device locks to that one estimate — they cannot wander into your pricing, your other customers or your schedule. For a full installation proposal, send it instead and let them think about it.Approve
They read what was found, pick an option when there is one to pick, type their name and sign with a finger. The signature is stored with the estimate and the option they chose, not with a different version of it.
Phase 4 · Done and paid
The work happens, the parts come off the truck, the money arrives, and the door remembers.
Do the work
Fit the springs. Record the parts you used. Completing the job moves those parts out of the truck they came off, so the count is right without anybody updating a spreadsheet in the evening.Invoice and payment
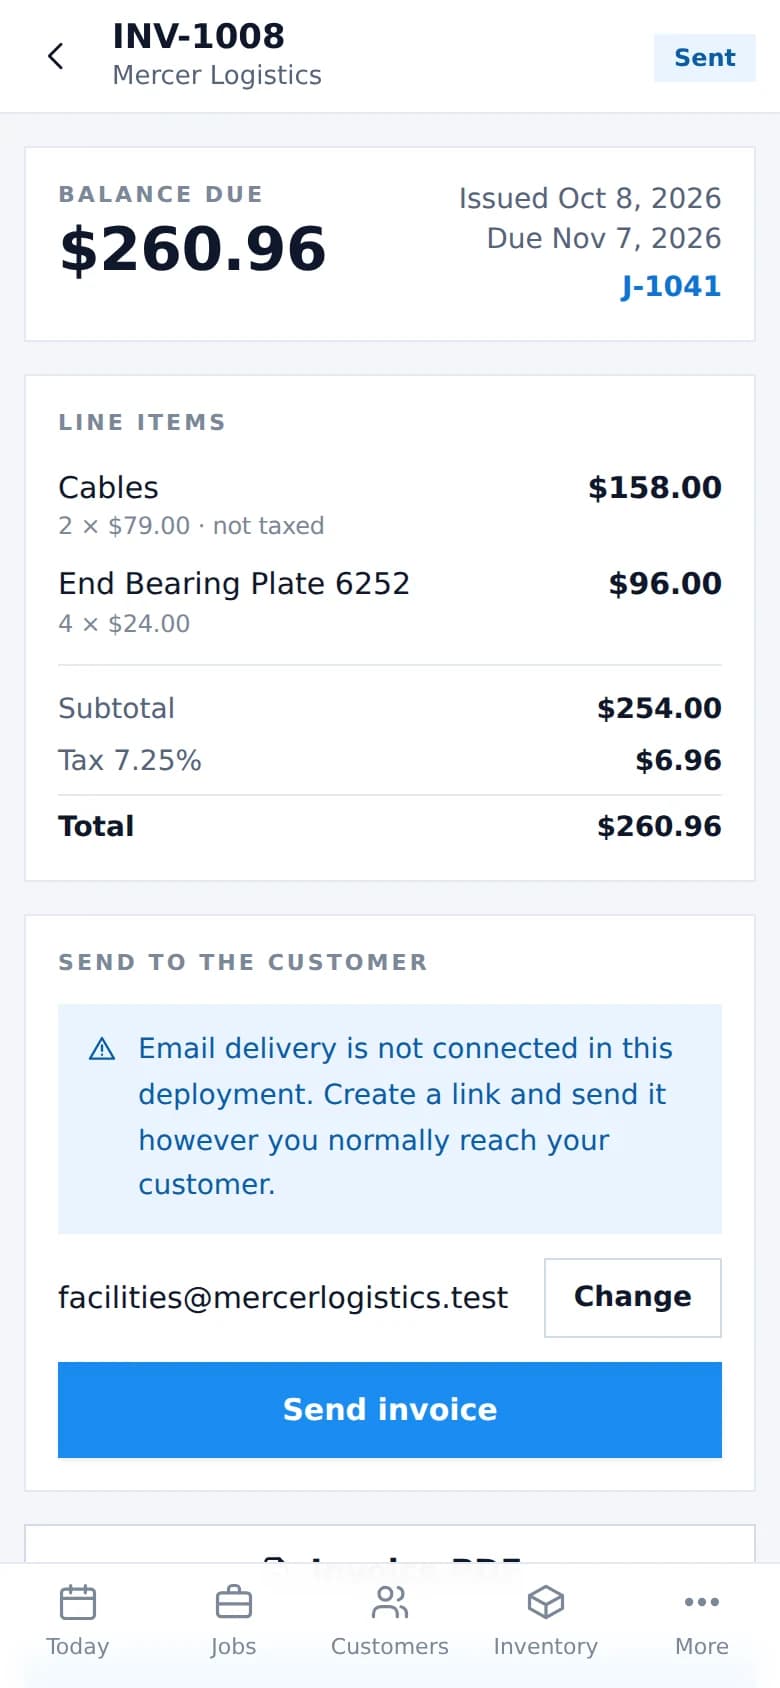
The invoice is built from the approved work and the parts used. Take a card on the spot, or record cash or a cheque. Card payments settle into your own Stripe account — Garage Door HQ never holds your money.Door Passport updates
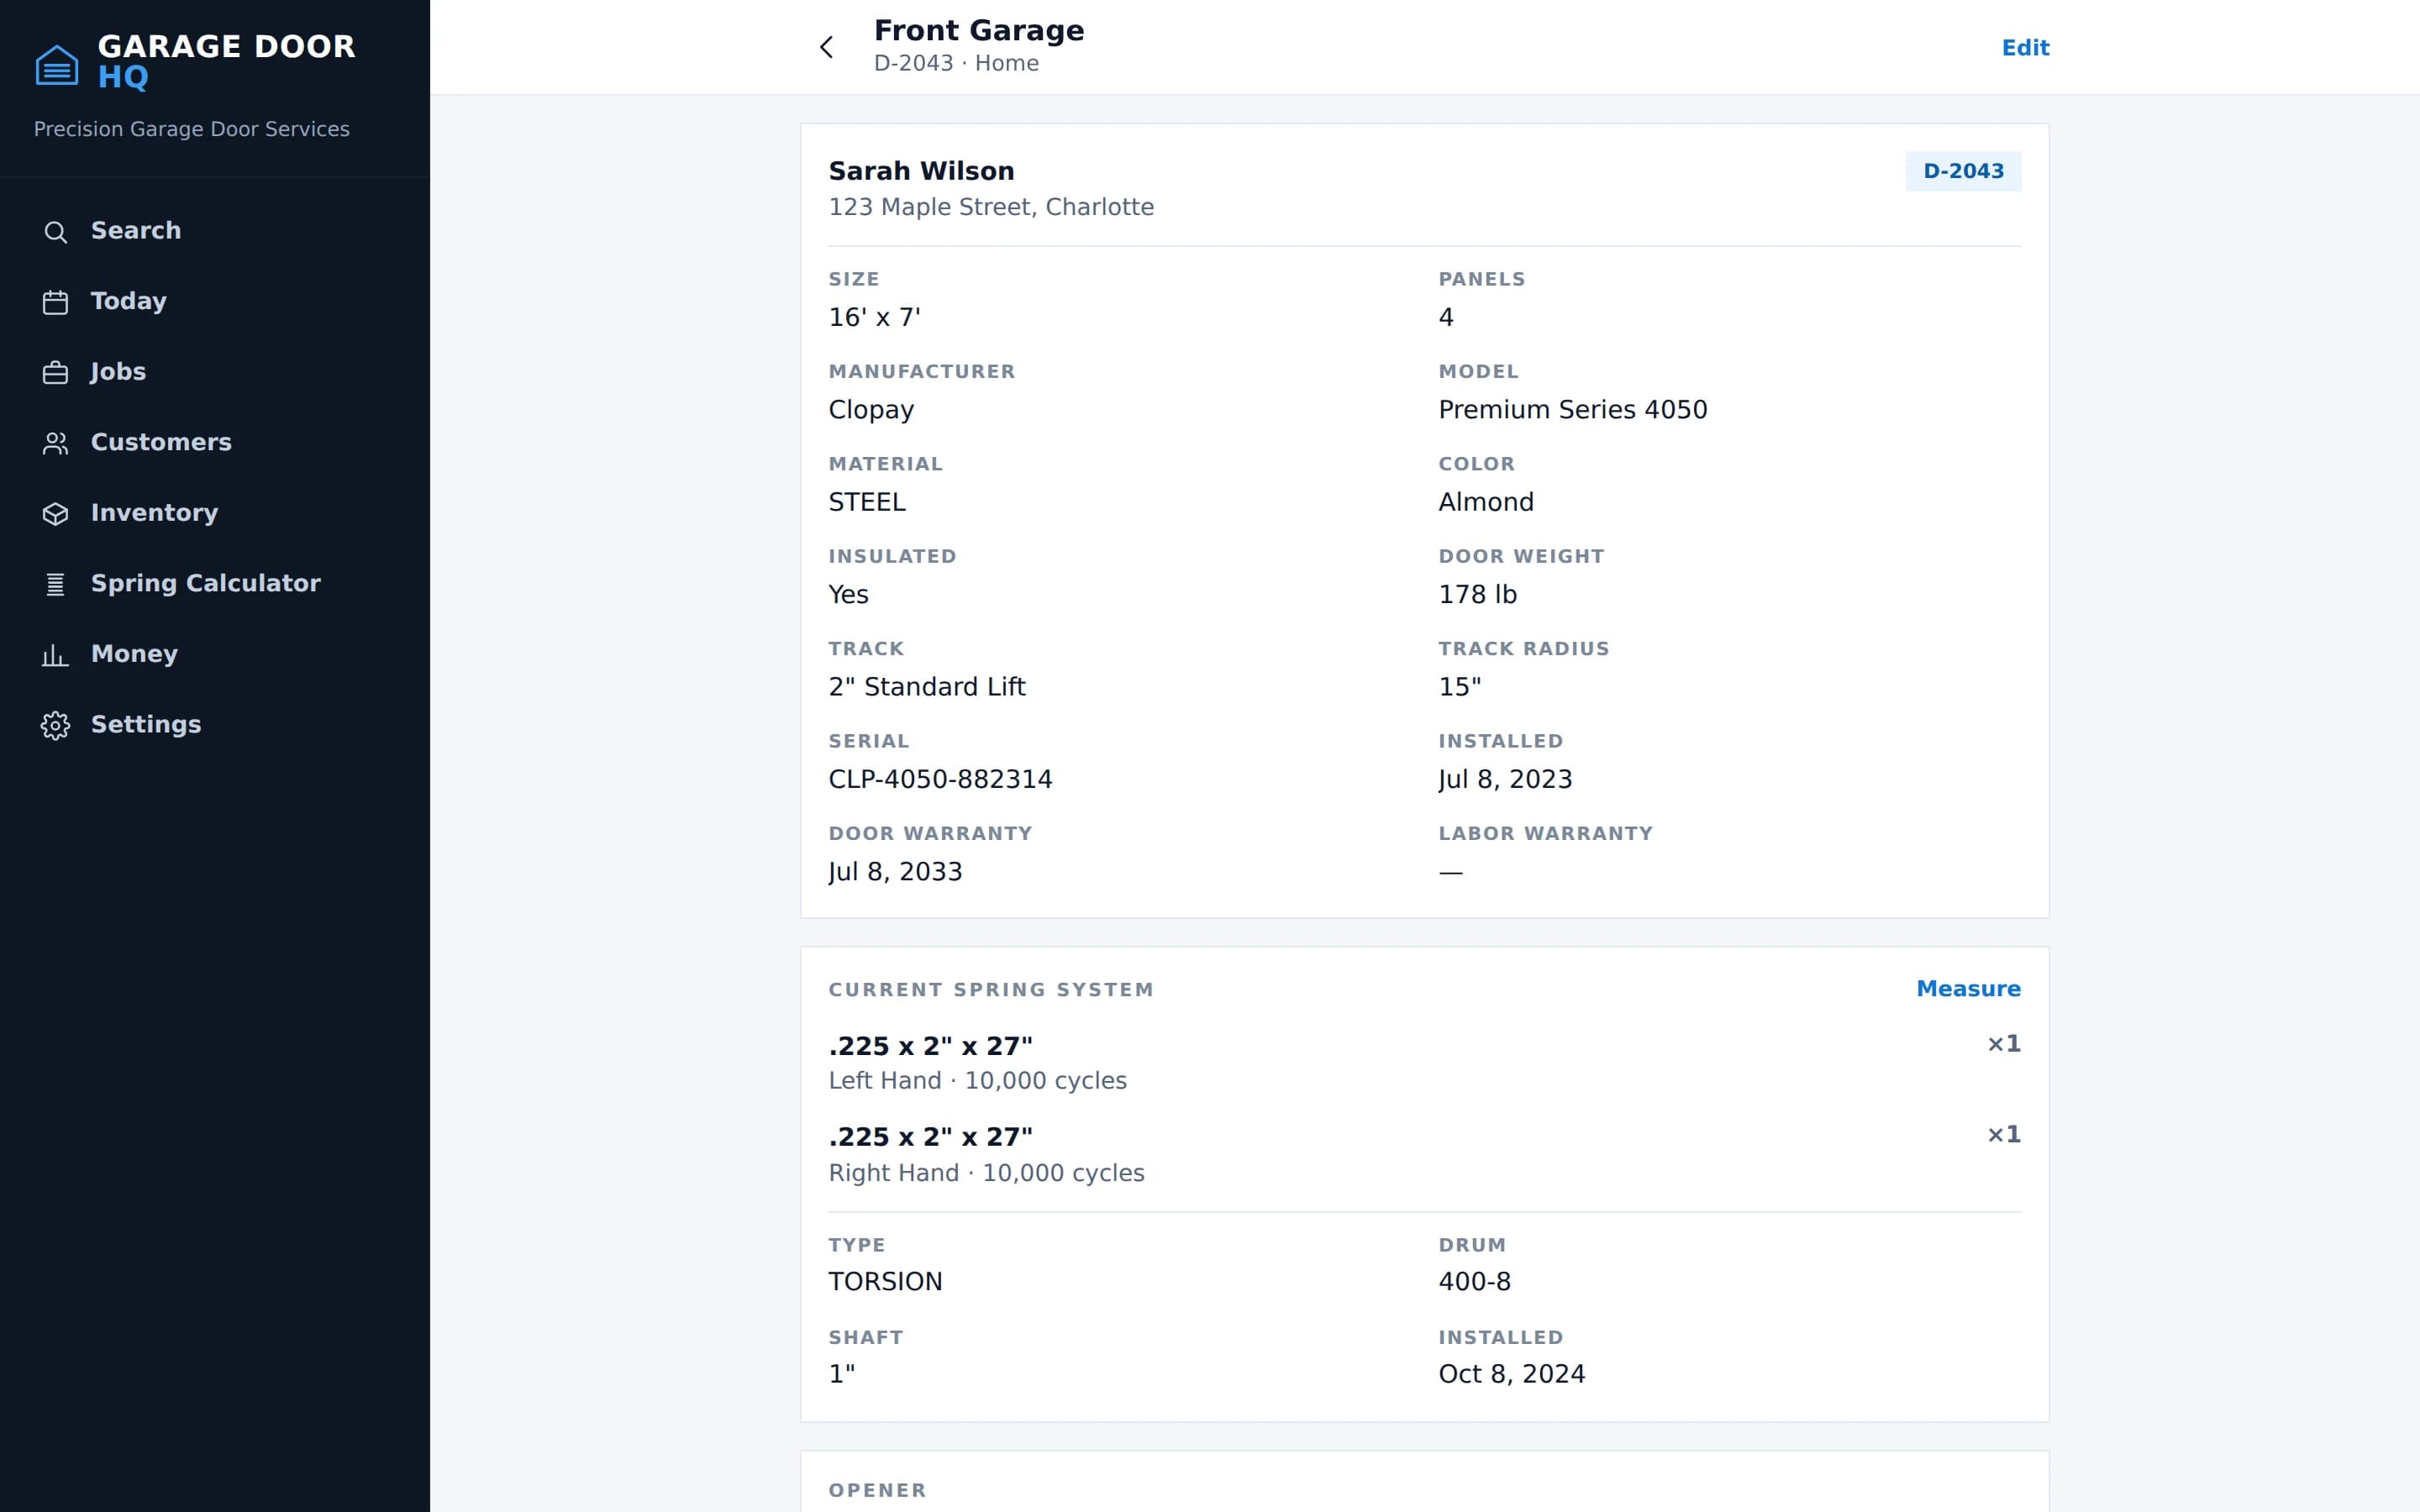
The door now knows it has new springs, when they went on and what came off. Next February, whoever pulls into that driveway starts from there instead of from nothing.
And then
The door keeps the record.
Everything the call produced lands in one place. The next visit starts here rather than with a phone call to whoever went last time.
That is the whole loop.
Run it once on a real job and the next one is faster, because the door already knows what happened the first time.